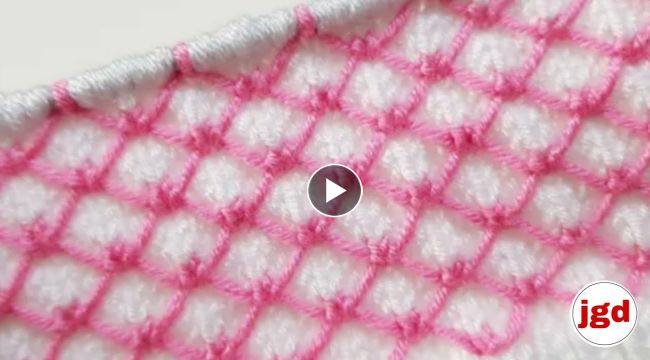
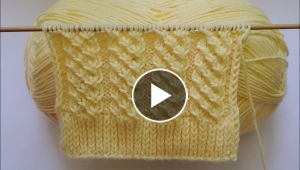
How to Knit a Two-Color Wire Netting pattern Baby Cardigan
If you're looking for a unique and stylish
knitting project to make for a special baby in your life, then a two-color
wire netting pattern baby cardigan is a great choice. This pattern creates a lightweight, breathable garment that's perfect for layering over a onesie or t-shirt. Plus, the
two-color design adds a pop of color and visual interest to the finished piece. Here's how to get started:
Materials You'll Need
- Two skeins of lightweight yarn in different colors
- Size 6 knitting needles
- Scissors
- Tapestry needle
Instructions
Step 1: Cast on 75 stitches using the first color yarn.
Step 2: Knit 2 rows in the first color.
Step 3: Begin the wire netting pattern by alternating between the two colors for each stitch. For example, you'll knit one stitch in the first color, then purl one stitch in the second color, and repeat this pattern across the row.
Step 4: Continue knitting in the wire netting pattern until the piece measures 8 inches in length.
Step 5: Create the armholes by binding off 4 stitches at the beginning of the next two rows.
Step 6: Continue knitting in the wire netting pattern until the piece measures 11 inches in length.
Step 7: Begin the neckline by binding off the center 23 stitches and knitting each side separately.
Step 8: Continue knitting each side of the neckline in the wire netting pattern until each side measures 1.5 inches in length.
Step 9: Bind off all stitches and weave in the ends.
Step 10: Sew the shoulder seams together using the tapestry needle.
Step 11: To finish the armholes, pick up and knit 40 stitches around each armhole using the first color yarn.
Step 12: Knit 2 rows in the first color.
Step 13: Begin the wire netting pattern for the armhole edging by alternating between the two colors for each stitch. Knit one stitch in the first color, then purl one stitch in the second color, and repeat this pattern across the row.
Step 14: Continue knitting in the wire netting pattern for the armhole edging for 2 inches.
Step 15: Bind off all stitches and weave in the ends.Congratulations, you've just completed a two-color wire netting pattern
baby cardigan! This unique and stylish garment is sure to be a hit with both the baby and their parents.