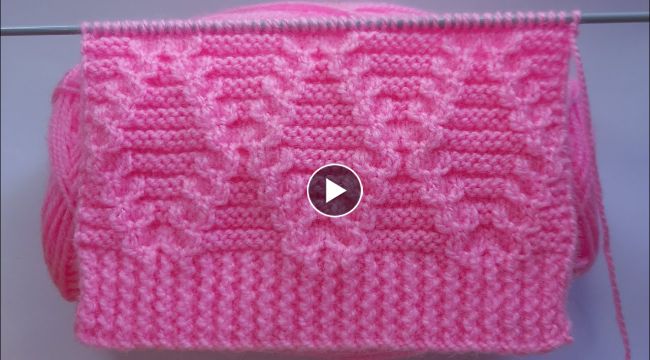
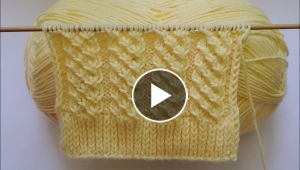
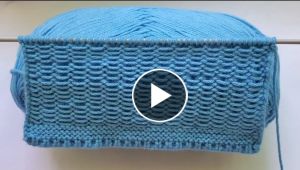
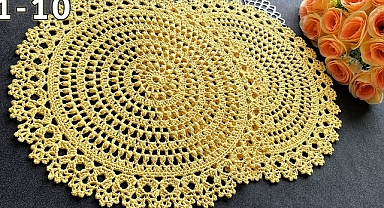
Let's Knit Embossed Springs pattern Baby Vest
Looking for a fun and unique knitting project for your little one? Why not try knitting a baby
vest with an embossed springs pattern? Not only is it cute, but it's also sure to keep your baby warm and cozy. Here's how to get started:
What You'll Need:
- 2 skeins of soft baby yarn in your choice of colors
- Circular knitting needles in size 4mm
- Scissors
- Tapestry needle
Knitting the Vest:
Start by casting on 48 stitches for the back of the vest using your chosen yarn color. Work in stockinette stitch for 5 rows.Next, switch to the embossed springs pattern:
Row 1: (RS) K2, *P2, K2, repeat from * to endRow 2: (WS) P2, *K2, P2, repeat from * to endRow 3: (RS) K2, *P2, K2, repeat from * to endRow 4: (WS) P2, *K2, P2, repeat from * to endRow 5: (RS) K2, *P2, K2, repeat from * to endRow 6: (WS) P2, *K2, P2, repeat from * to end
Row 7: (RS) K2, *P2, K2, repeat from * to endRow 8: (WS) P2, *K2, P2, repeat from * to endRow 9: (RS) K2, *P2, K2, repeat from * to endRow 10: (WS) P2, *K2, P2, repeat from * to endRow 11: (RS) K2, *P2, K2, repeat from * to endRow 12: (WS) P2, *K2, P2, repeat from * to endRepeat these 12 rows until you have reached the desired length for the vest.Once you have finished the back of the vest, you can move on to the front. Cast on 24 stitches for each side of the front using your chosen yarn color. Work in stockinette stitch for 5 rows. Next, switch to the embossed springs pattern and continue knitting until you reach the desired length.Once you have completed the front and back of the vest, you can seam the shoulders together and pick up stitches around the armholes. Knit in stockinette stitch for 3 rows and then bind off. Finally, seam up the sides of the vest and add any embellishments, such as buttons or a cute ribbon.
With just a few simple knitting techniques, you can create a beautiful and unique
baby vest with an embossed springs pattern that your little one will love!
