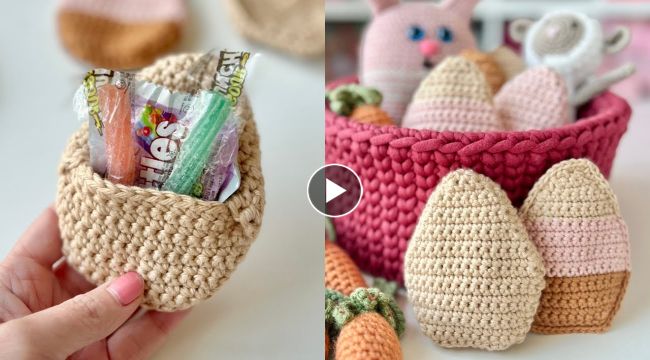
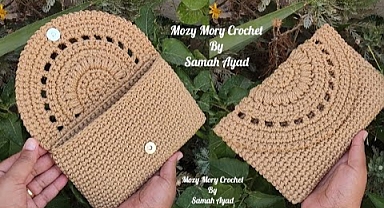
How to crochet Refillable Easter Eggs
Easter is just around the corner, and if you're looking for a fun and unique way to decorate your home, why not try
crocheting some
refillable Easter eggs? These cute eggs can be filled with small treats or toys and make a great addition to any
Easter basket or centerpiece. In this post, we'll go through the steps of how to crochet refillable
Easter eggs.
Step 1: Gather Materials
To start crocheting your refillable Easter eggs, you will need:
- Yarn in your desired color(s)
- A crochet hook (size G or H works well)
- Stitch markers
- A tapestry needle
- Scissors
Step 2: Crochet the Base
To begin, create a magic ring and work 6 single
crochet stitches into the ring. Pull the tail of the yarn to close the ring, and place a stitch marker to indicate the beginning of the round. In the next round, work 2 single crochet stitches into each stitch from the previous round, for a total of 12 stitches. Continue to increase in this manner until the base of the egg is the desired size (usually around 24-30 stitches).
Step 3: Crochet the Body
Next, work single crochet stitches in each stitch around, without increasing or decreasing, until the body of the egg is the desired length (usually around 20-30 rounds). Be sure to use a stitch marker to indicate the beginning of each round.
Step 4: Crochet the Top
To create the top of the egg, work single crochet stitches in each stitch around, decreasing every few stitches to create a tapered shape. Once the top is small enough to fit over the plastic egg, cut the yarn and fasten off.
Step 5: Finishing Touches
Use a tapestry needle to weave in the ends of the yarn and to attach the top of the egg to the body. Then, fill the plastic egg with treats or toys and place it inside the crocheted egg.
Step 6: Repeat!
Repeat steps 2-5 to create as many refillable Easter eggs as you like in a variety of colors.These refillable Easter eggs make a great addition to any Easter celebration, and they're also a fun project to crochet with kids. Just be sure to supervise them when using sharp objects like scissors and crochet hooks.Happy crocheting, and have a hoppy Easter!