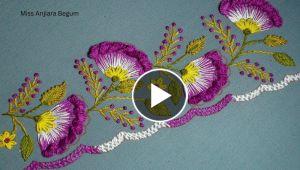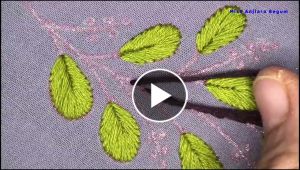
Flower embroidery is a beautiful and timeless craft that can add a touch of elegance and charm to any piece of fabric. Whether you are a beginner or an experienced embroiderer, this cute and simple flower embroidery tutorial will show you how to create beautiful floral designs using just a few basic stitches.Materials:
- Embroidery hoop
- Embroidery floss in your desired colors
- Embroidery needle
- Fabric (cotton or linen works well)
- Choose your flower design: There are many flower designs to choose from, including daisies, roses, and sunflowers. Choose a design that speaks to you and fits the project you have in mind.
- Transfer the design onto your fabric: You can do this by using a transfer pen, tracing the design onto the fabric with a pencil, or printing the design onto transfer paper and ironing it onto the fabric.
- Secure your fabric onto the embroidery hoop: Place the inner hoop underneath the fabric and the outer hoop on top. Tighten the screw to secure the fabric in place.
- Thread your needle: Cut a piece of embroidery floss to the desired length and thread it through the eye of the needle.
- Start with the stem: Using a backstitch, stitch the stem of the flower onto the fabric. You can use a single strand of floss or multiple strands, depending on the thickness you desire.
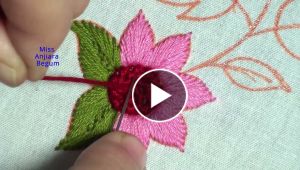
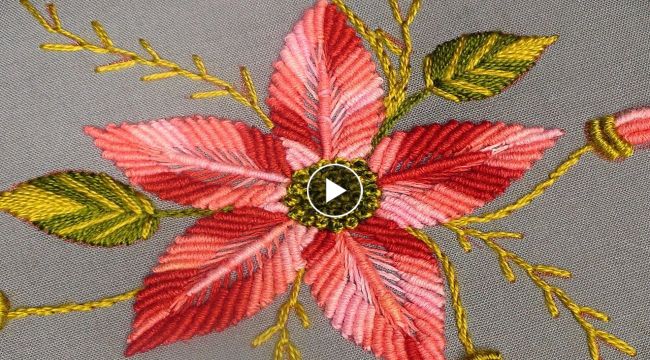
- Add the petals: Using a satin stitch or a long and short stitch, fill in the petals of the flower. You can use a single color for the petals or blend different colors together to create a gradient effect.
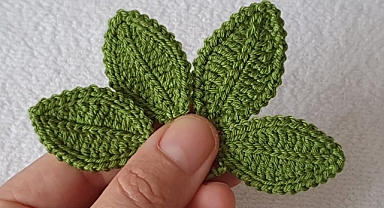
- Add the leaves: Using a basic leaf stitch, add the leaves to the stem of the flower.
- Finish with any additional details: Add any additional details to your design, such as a center for the flower or small accents around the petals.
- Finish off your embroidery: Once you have completed your design, finish off your embroidery by tying off your thread and trimming any excess floss.